In the digital marketplace, your images are your storefront. They are the primary touchpoint for potential customers, communicating not just the product itself but also your brand’s aesthetic, quality, and attention to detail. Poorly photographed accessories can deter customers, no matter how exquisite the actual item. Conversely, compelling, high-quality accessory photography can elevate your brand, enhance perceived value, and ultimately boost sales. This guide is designed to equip accessory brands with the knowledge and techniques needed to capture images that truly showcase their products in the best possible light, turning online browsing into confident purchases.
Key Takeaways:
- Lighting is King: Master different lighting techniques to highlight texture, shine, and intricate details of your accessories.
- Composition Matters: Learn how to compose shots effectively to draw the viewer’s eye to the key selling points of each accessory.
- Detail is Non-Negotiable: Sharp focus and high resolution are crucial for showcasing the craftsmanship and quality of accessories.
- Post-Production Perfection: Understand the essential post-production steps to ensure consistent, polished, and commercially viable images.
- Brand Consistency is Key: Develop a visual style that aligns with your brand identity and maintain it across all your accessory photography.
- Different Accessories, Different Approaches: Tailor your photography techniques to the unique characteristics of each accessory type (jewelry, bags, shoes, etc.).
- Invest in Quality: Recognize that investing in professional photography, or mastering in-house techniques, is a direct investment in your brand’s success.
- Understand Your Customer: Photograph your accessories in a way that resonates with your target audience and speaks to their aspirations.
Lighting: Illuminating the Details
Lighting is the cornerstone of exceptional accessory photography. It’s not just about making sure the product is visible; it’s about sculpting the light to reveal texture, highlight contours, and even create a mood. For accessories, especially those with intricate details or reflective surfaces like jewelry or metallic bags, understanding and controlling light is absolutely critical.
Natural Light vs. Studio Light:
Both natural and studio lighting have their place in accessory photography.
-
- Natural Light: Often praised for its soft, diffused quality, natural light can be ideal for creating a more organic and lifestyle feel. Shooting near a window on a slightly overcast day can provide beautiful, even lighting that minimizes harsh shadows. However, natural light is inconsistent and difficult to control, making it challenging to achieve uniform results across large product batches.
- Studio Light: For consistent, controllable, and repeatable results, studio lighting is generally preferred for commercial accessory photography. Studio lights allow you to precisely shape the light, control its intensity, and eliminate unwanted shadows. This consistency is essential for e-commerce, where product images need to be uniform across your entire online store.
Essential Lighting Techniques for Accessories:
-
- Softboxes and Diffusers: These tools soften and diffuse light, creating a more flattering and even illumination. Softboxes are particularly useful for minimizing harsh reflections on shiny accessories like jewelry or watches. Diffusers can be used with both natural and artificial light sources to soften the overall illumination.
-
- Reflectors: Reflectors are invaluable for bouncing light back into shadow areas, brightening them and reducing contrast. White reflectors are commonly used for a soft, natural fill light, while silver or gold reflectors can add a touch of warmth or highlights.
-
- Direct vs. Diffused Light: Direct light, coming straight from the light source, creates strong shadows and highlights. Diffused light, on the other hand, is scattered and softer, minimizing shadows and providing even illumination. For most accessories, especially those with delicate details, diffused light is preferred to avoid overly harsh or contrasty images.
-
- Side Lighting: Positioning the light source to the side of the accessory can emphasize texture and depth, creating visual interest and highlighting the three-dimensional form of the product.
- Backlighting: Placing a light source behind the accessory can create a subtle halo effect, separating the product from the background and adding a touch of drama. This technique is particularly effective for accessories with interesting silhouettes.
Expert Opinion: Renowned product photographer, Amelia Chen, emphasizes, “Lighting is the language of photography. For accessories, it’s crucial to think about how light interacts with the materials. Is it leather that absorbs light? Metal that reflects? Fabric with texture? Your lighting setup should be tailored to bring out the best qualities of each material.”
Composition and Styling: Telling a Visual Story
Composition is about how you arrange the elements within your photograph to create a visually appealing and effective image. For accessory photography, thoughtful composition guides the viewer’s eye, highlights key features, and contributes to the overall aesthetic of your brand. Styling, closely linked to composition, involves choosing props and backgrounds that complement the accessory and enhance its appeal.
Key Compositional Techniques:
-
- Rule of Thirds: Imagine dividing your frame into a 3×3 grid. Placing the accessory or key elements of the composition along these lines or at their intersections often creates a more dynamic and balanced image.
-
- Leading Lines: Using lines within the image (edges, curves, patterns) to lead the viewer’s eye towards the accessory, creating a sense of depth and direction.
-
- Symmetry and Asymmetry: Symmetrical compositions can convey order and elegance, while asymmetrical compositions can be more dynamic and modern. Choose the approach that best suits your brand and the accessory you are photographing.
-
- Negative Space: The empty space around the accessory. Using negative space effectively can draw more attention to the product, creating a clean and minimalist aesthetic.
- Angles and Perspectives: Experiment with different camera angles. Shooting from directly above (flat lay), at eye level, or from a lower angle can dramatically change the look of your accessory. Consider what angle best showcases the accessory’s shape, details, and functionality.
Styling for Accessories:
-
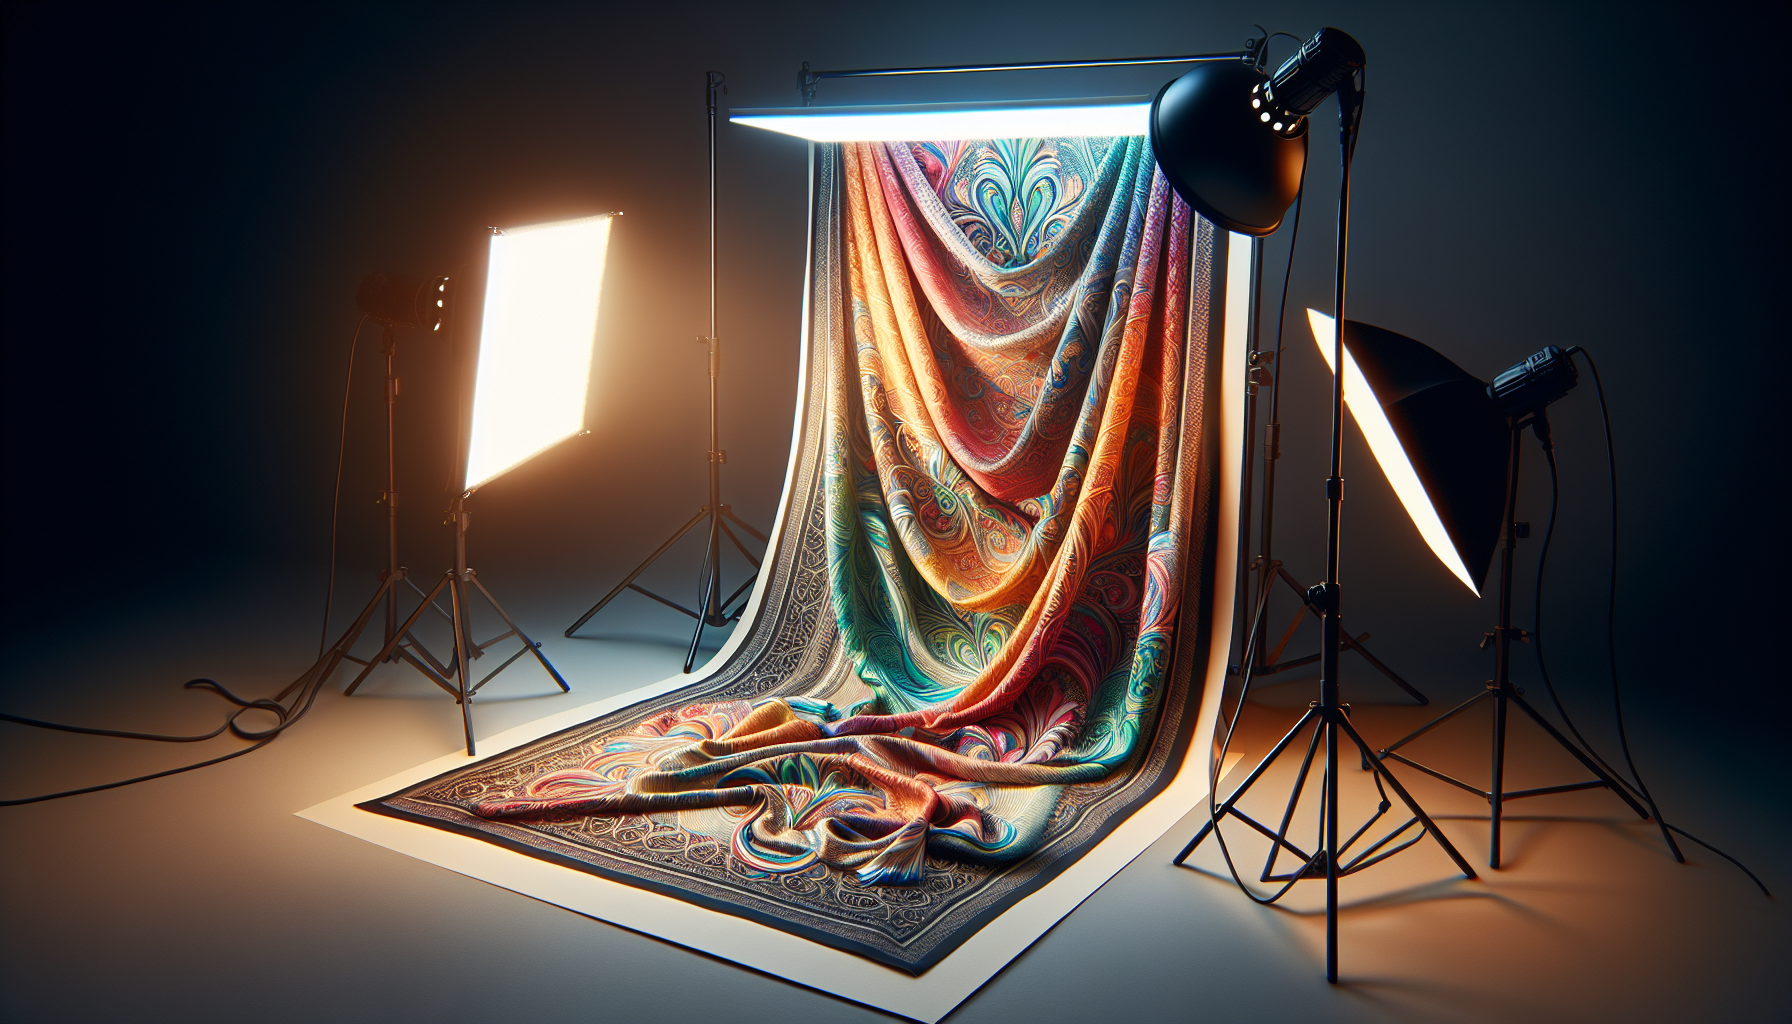
- Backgrounds: Choose backgrounds that are clean, uncluttered, and complementary to the accessory. White or neutral backgrounds are often ideal for e-commerce as they minimize distractions and keep the focus on the product. Consider using textured backgrounds to add subtle visual interest without overpowering the accessory.
-
- Props: Props should be used sparingly and strategically to enhance the accessory’s context or scale, not to compete with it. For example, a watch might be styled on a wrist or with a sophisticated outfit, while jewelry might be displayed on a mannequin hand or against a luxurious fabric. Ensure props are relevant to your target audience and brand aesthetic.
-
- Color Palette: Maintain a consistent color palette in your styling that aligns with your brand. Choose background and prop colors that complement the accessory and create a cohesive visual theme across your product images.
- Contextual Styling: Consider lifestyle shots where accessories are shown in use or in relevant settings. For example, photographing a handbag on a model in a street style setting can help customers visualize how the accessory would look in real life.
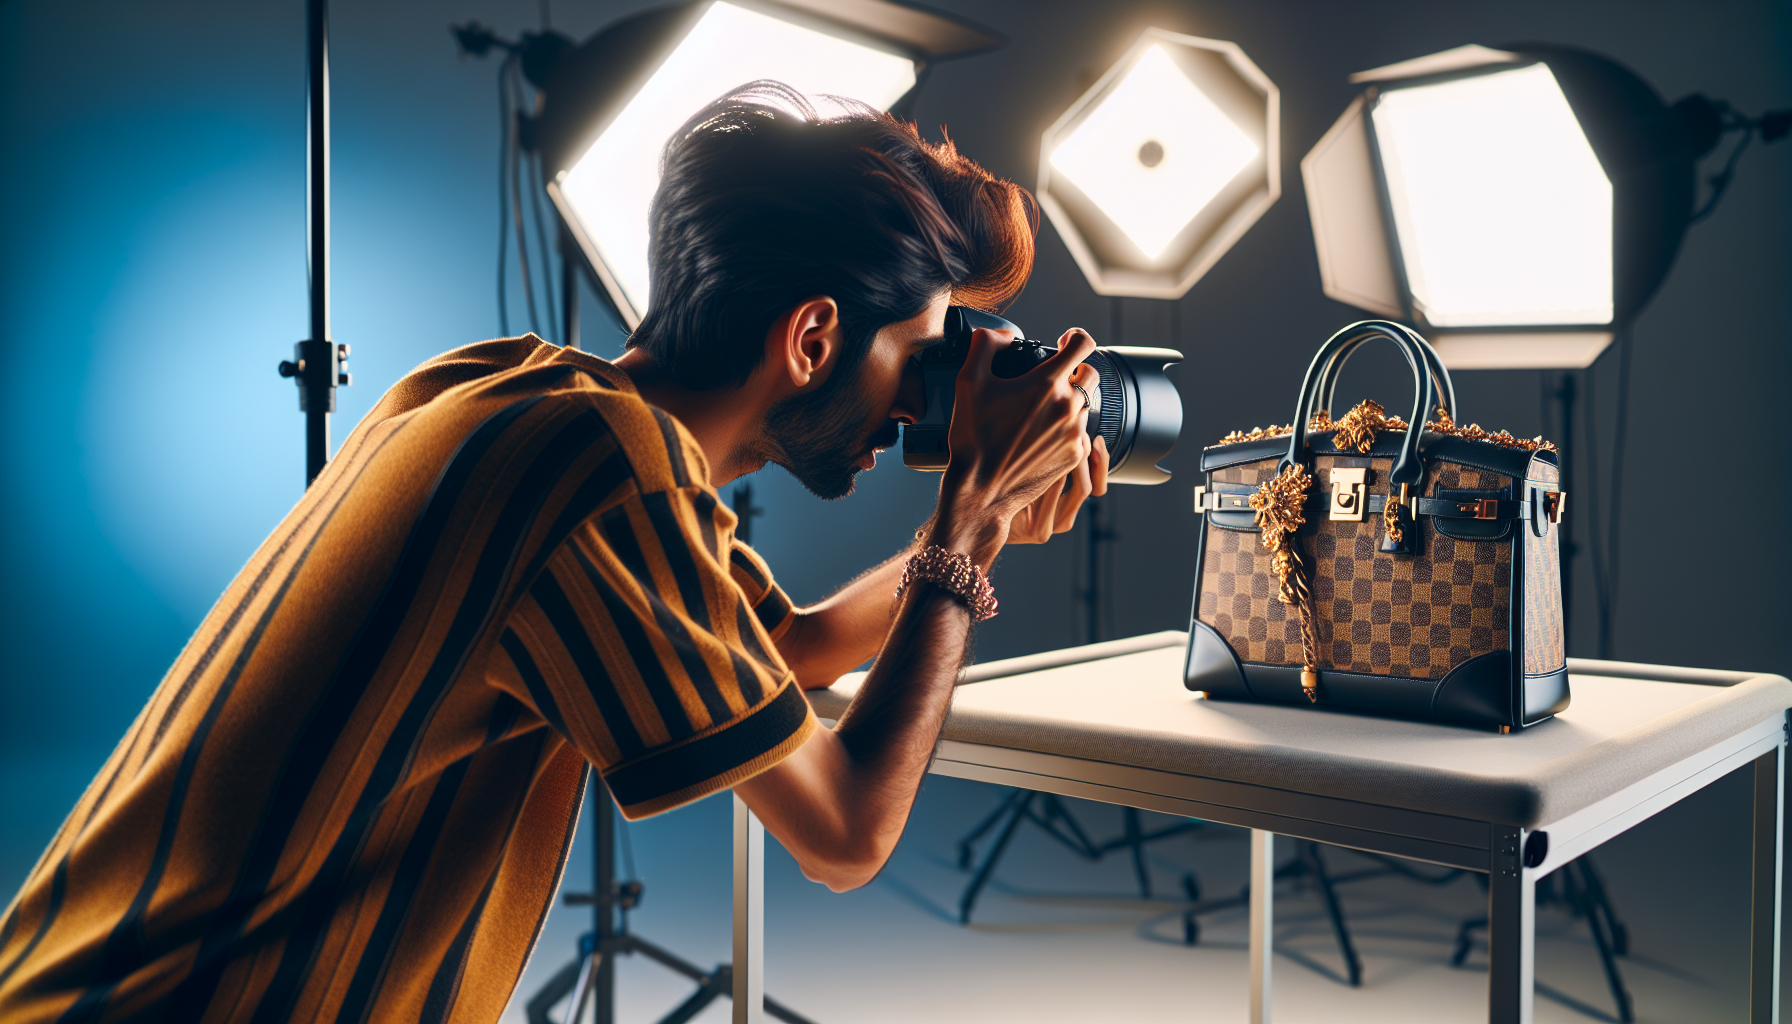
Case Study: “Luxe Leather,” a boutique handbag brand, struggled to convey the premium quality of their products online. By investing in professional photography that focused on close-up shots highlighting the leather texture and meticulous stitching, and by styling their bags in elegant, minimalist settings, they saw a 40% increase in online sales within three months. Their new photography emphasized the craftsmanship and luxury, resonating strongly with their target audience of discerning customers.
Technical Excellence: Sharpness and Clarity
Technical aspects of photography are the nuts and bolts that ensure your images are not just aesthetically pleasing but also commercially viable. Sharp focus, high resolution, and correct camera settings are paramount for showcasing the intricate details and quality of fashion accessories.
Essential Camera Settings and Equipment:
-
- Camera Body: A DSLR or mirrorless camera with manual controls is recommended for professional-quality accessory photography. These cameras offer greater flexibility and image quality compared to smartphone cameras.
-
- Lenses: For accessories, macro lenses are particularly useful for capturing close-up details with exceptional sharpness. Standard zoom lenses or prime lenses (like a 50mm lens) can also be effective depending on the type of accessory and desired shot.
-
- Aperture: Aperture controls the depth of field – the area of the image that is in focus. For accessories, especially jewelry or items with fine details, a higher aperture (smaller f-number like f/8 or f/11) is often used to ensure that the entire accessory is in sharp focus. However, for creating a blurred background (bokeh) in lifestyle shots, a wider aperture (larger f-number like f/2.8 or f/4) can be used to isolate the accessory.
-
- ISO: Keep ISO as low as possible (ideally ISO 100 or 200) to minimize noise and maintain image clarity. In well-lit studio environments, low ISO settings are achievable.
-
- Shutter Speed: Adjust shutter speed to ensure proper exposure. When using studio lighting, you can typically use a relatively fast shutter speed. If shooting in natural light, especially indoors, you may need to use a slower shutter speed or a tripod to prevent motion blur.
-
- Tripod: A sturdy tripod is essential for accessory photography, especially when using slower shutter speeds or macro lenses. It ensures sharpness and consistency, particularly when photographing multiple products in a batch.
- Remote Shutter Release or Self-Timer: Using a remote shutter release or the camera’s self-timer minimizes camera shake, further ensuring sharp images, especially at slower shutter speeds or when using a tripod.

Focus and Sharpness:
-
- Manual Focus: For critical sharpness, especially in macro photography, manual focus is often preferred. Use live view mode and zoom in to fine-tune focus on the most important details of the accessory.
-
- Focus Peaking: Many modern cameras offer focus peaking, which highlights areas in focus in your viewfinder or on the LCD screen, making manual focusing easier and more accurate.
- Resolution: Shoot at the highest resolution setting your camera allows to capture maximum detail and provide flexibility for cropping and resizing images for different online platforms.
Post-Production: Polishing to Perfection
Post-production is not about fixing bad photography; it’s about enhancing good photography and ensuring consistency and commercial viability. For e-commerce, where image consistency is crucial for brand credibility, post-production is an indispensable step in the accessory photography workflow. Pixel By Hand, with their expertise in e-commerce fashion product image post-production, understands the nuances of this stage intimately.
Essential Post-Production Steps:
-
- Color Correction: Ensure accurate and consistent colors across all your product images. Color correction involves adjusting white balance, hue, saturation, and luminance to achieve true-to-life colors and match your brand’s color palette.
-
- Background Removal: For clean, professional e-commerce listings, removing backgrounds and replacing them with pure white or transparent backgrounds is often necessary. This isolates the accessory and ensures it’s the sole focus of attention.
-
- Retouching: Subtle retouching can remove minor imperfections like dust, scratches, or blemishes, enhancing the overall polish of the image. However, avoid excessive retouching that makes the accessory look unnatural or misrepresents its actual appearance.
-
- Shadow Creation: Adding natural-looking shadows beneath or behind the accessory can create depth and make it appear more grounded and three-dimensional, especially after background removal.
-
- Highlight and Shadow Adjustment: Fine-tuning highlights and shadows can enhance contrast, reveal details in both bright and dark areas, and create a more dynamic image.
-
- Sharpening: Apply sharpening carefully in post-production to enhance detail and clarity. Avoid over-sharpening, which can create unwanted artifacts or make the image look artificial.
- Resizing and Optimization: Resize images to the optimal dimensions for your e-commerce platform. Optimize image file sizes for fast loading times without compromising visual quality. Large, unoptimized images can slow down your website and negatively impact user experience and SEO.
Expert Opinion: Digital image specialist, Ethan Bell, advises, “Post-production is where good images become great, commercially effective images. It’s about refining, perfecting, and ensuring consistency across your entire product catalog. Think of it as the final polish that elevates your accessory photography to a professional standard.”
Maintaining Brand Consistency: A Visual Signature
Consistency in your accessory photography is vital for building a strong and recognizable brand identity. It creates a cohesive visual experience for your customers and reinforces brand professionalism and attention to detail.
Elements of Visual Consistency:
-
- Lighting Style: Establish a consistent lighting setup and style across all your accessory photography. Whether you prefer soft, diffused light or more dramatic side lighting, maintain this style for all product images to create a unified look.
-
- Backgrounds: Use consistent backgrounds in terms of color, texture, and style. A uniform background style contributes significantly to visual consistency across your product listings.
-
- Compositional Approach: Adopt a consistent compositional approach. Do you prefer close-up product-focused shots, or wider shots with more styling and context? Maintaining a similar compositional style across your images will enhance visual harmony.
-
- Editing Style: Develop a consistent editing style in terms of color grading, retouching, and overall image processing. This creates a signature visual style that becomes associated with your brand.
- Image Ratios and Sizes: Use consistent image ratios and sizes for your product images on your website and social media platforms. This contributes to a clean and organized presentation of your products.
Creating Brand Guidelines:
To ensure consistent accessory photography, consider creating brand guidelines that outline:
- Lighting specifications (type of lighting, setups).
- Background choices (colors, textures).
- Compositional guidelines (angles, framing).
- Styling rules (props, color palettes).
- Post-production parameters (color correction, retouching style, sharpening levels).
- Image size and format specifications.
Sharing these guidelines with your in-house photography team or external partners like Pixel By Hand ensures that everyone is aligned on your brand’s visual standards and contributes to maintaining consistency.
Tailoring Techniques to Accessory Types
Different types of accessories demand slightly different photographic approaches. Understanding these nuances will help you showcase each accessory category in its best light.
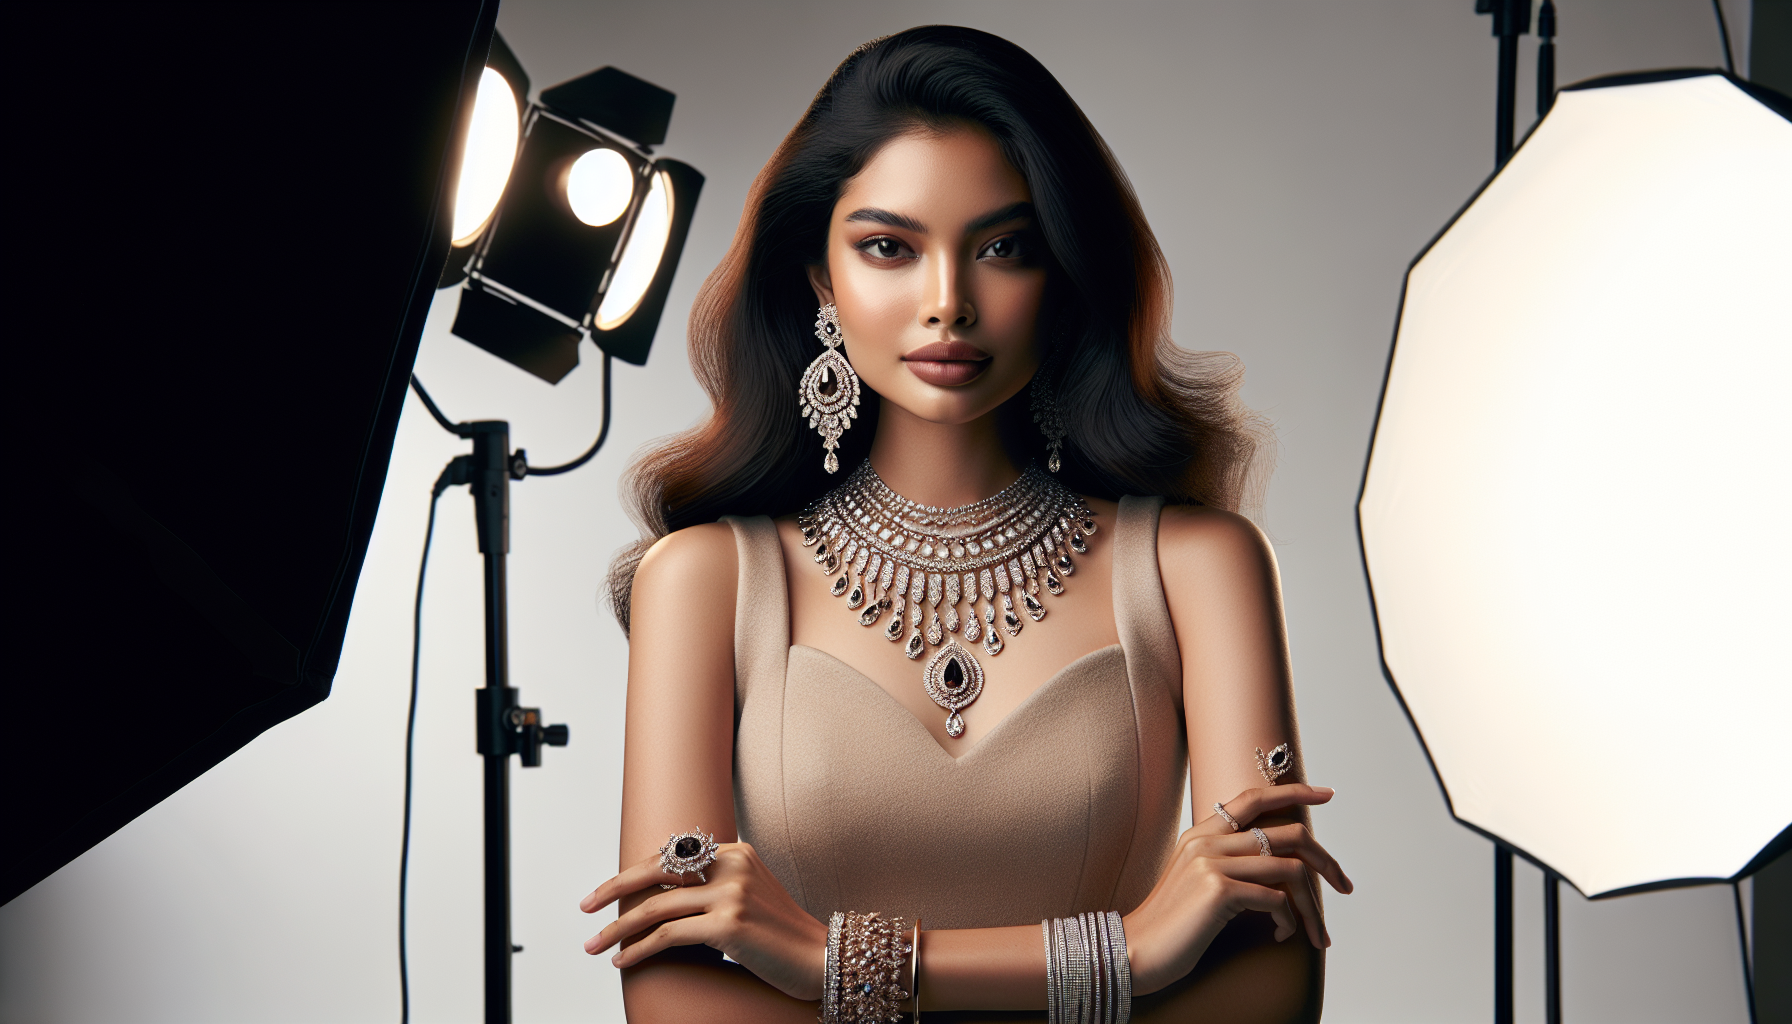
Jewelry Photography:
-
- Focus on Detail: Jewelry is often intricate. Macro lenses and meticulous focus are crucial to capture fine details, sparkle, and craftsmanship.
-
- Lighting for Shine: Use soft, diffused lighting to minimize harsh reflections and highlight the brilliance of gemstones and metals. Consider using reflectors to add subtle highlights and dimension.
-
- Clean Backgrounds: White or neutral backgrounds are typically best for jewelry to keep the focus on the piece itself.
- Consider Display: Experiment with jewelry stands, mannequin hands, or even natural elements like stones or wood to display jewelry in an appealing way.
Bag Photography:
-
- Shape and Form: Focus on capturing the bag’s shape, structure, and size accurately. Use angles that showcase its design and functionality.
-
- Texture of Materials: Highlight the texture of leather, fabric, or other materials. Side lighting can be particularly effective for bringing out texture.
-
- Interior and Details: Showcase the bag’s interior compartments, hardware, and other key details that add value and functionality.
- Lifestyle Context: Consider lifestyle shots showing models carrying the bag to provide scale and context.
Shoe Photography:
-
- Angles for Shape: Photograph shoes from various angles – side, top, front, and back – to showcase their shape and design from all perspectives.
-
- Material Detail: Highlight the texture and quality of leather, suede, or other materials used in shoe construction.
-
- Sole and Construction: For certain shoe types, showcasing the sole, stitching, or other construction details can emphasize quality and durability.
- On-Foot Shots: Images of models wearing the shoes help customers visualize how they look and fit in real life.
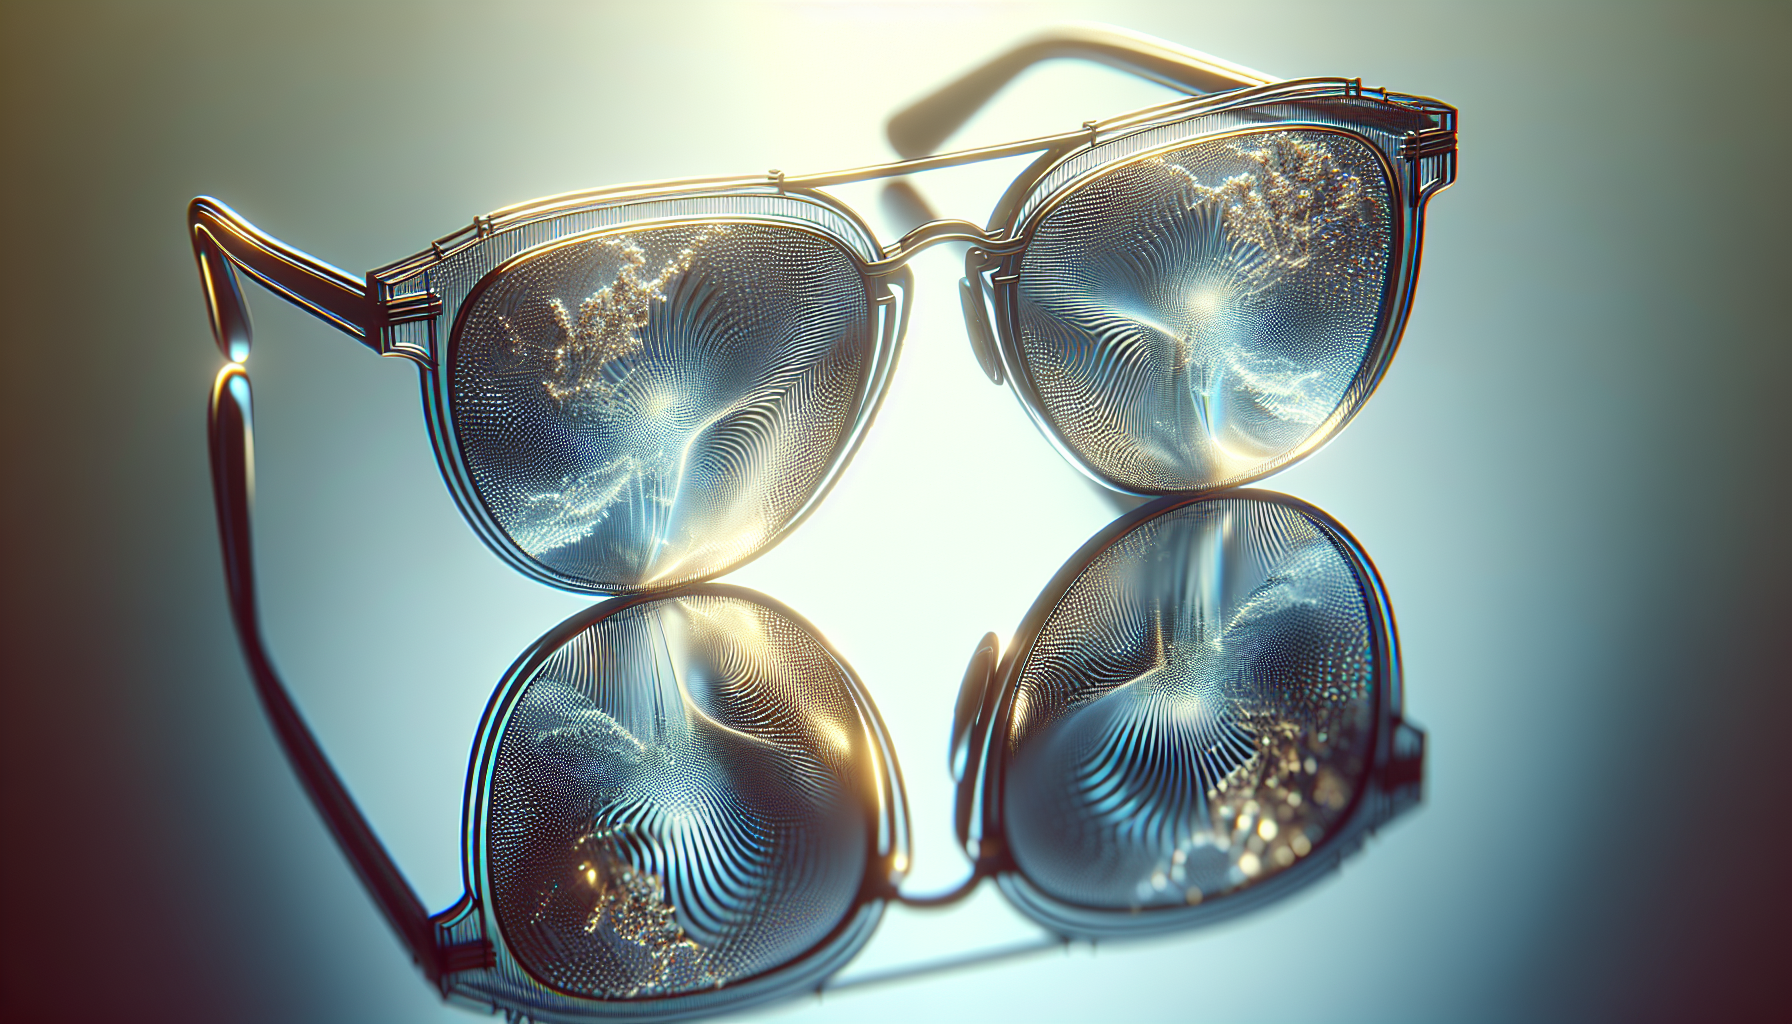
Sunglasses and Eyewear Photography:
-
- Lens Clarity: Ensure lenses are clean and free of reflections or smudges. Polarizing filters can be helpful to reduce reflections on lenses.
-
- Frame Details: Showcase the design and details of the frames, especially if they are a key selling point.
-
- Fit and Style: Images of models wearing sunglasses help customers visualize fit and style on different face shapes.
- Reflective Surfaces: Manage reflections carefully. Softboxes and diffusers are crucial to control highlights and avoid unwanted glare.
Investing in Quality: A Long-Term Strategy
High-quality accessory photography is not an expense; it’s an investment. It’s an investment in your brand’s perception, in customer trust, and ultimately, in your sales revenue. In the competitive e-commerce landscape, where visual appeal is a primary driver of purchase decisions, cutting corners on photography can be a costly mistake.
Benefits of Investing in Professional Accessory Photography:
-
- Enhanced Brand Image: Professional photography elevates your brand’s perceived quality and sophistication.
-
- Increased Customer Trust: High-quality, accurate images build trust and confidence in your products and your brand.
-
- Higher Conversion Rates: Compelling visuals drive engagement and encourage purchase decisions, leading to higher conversion rates.
-
- Reduced Return Rates: Accurate and detailed photography helps customers make informed purchase decisions, reducing the likelihood of returns due to unmet expectations.
-
- Competitive Advantage: Stand out from competitors with visually superior product presentations.
- Long-Term Asset: High-quality images are a valuable asset that can be used across various marketing channels for extended periods.
Considering Outsourcing:
For many accessory brands, especially those handling large volumes of products or seeking consistently professional results, outsourcing post-production to specialists like Pixel By Hand can be a strategic advantage. Pixel By Hand provides:
-
- Expertise and Efficiency: Access to a team of experienced retouchers who understand the specific needs of e-commerce fashion photography.
-
- Scalability: Ability to handle large volumes of images quickly and efficiently, ideal for brands with rapid product launches or seasonal peaks.
-
- Consistent Quality: Ensured consistency in image editing and post-production across all your product images.
-
- Customized Solutions: Tailored workflows and processes to meet the specific needs and brand guidelines of each client.
- Cost-Effectiveness: Often more cost-effective than building and maintaining a fully equipped in-house post-production team.
Understanding Your Customer: Visualizing Desire
Ultimately, effective accessory photography is about understanding your target customer and photographing your products in a way that resonates with their desires and aspirations. Consider:
-
- Target Audience Demographics and Psychographics: Who are you trying to reach? What are their style preferences, values, and lifestyle? Your photography style should align with your target audience’s aesthetic.
-
- Brand Story and Positioning: What is your brand story? Are you luxury, minimalist, bohemian, or edgy? Your photography should visually communicate your brand’s identity and positioning.
-
- Emotional Connection: Aim to create images that evoke emotion and desire. Use styling, composition, and lighting to create a mood and connect with your audience on an emotional level.
- Showcase Value and Benefits: Highlight the features and benefits that are most important to your target customer. For example, if you’re selling durable leather bags to adventure travelers, your photography should emphasize robustness and practicality.
By understanding your customer and tailoring your accessory photography to their preferences, you can create images that not only showcase your products beautifully but also drive meaningful engagement and conversions. Mastering the essentials of fashion accessory photography is an ongoing journey of learning, experimentation, and refinement. By focusing on lighting, composition, technical excellence, and post-production, and always keeping your brand and customer in mind, you can create compelling visuals that elevate your accessories and propel your brand to success in the competitive e-commerce landscape.